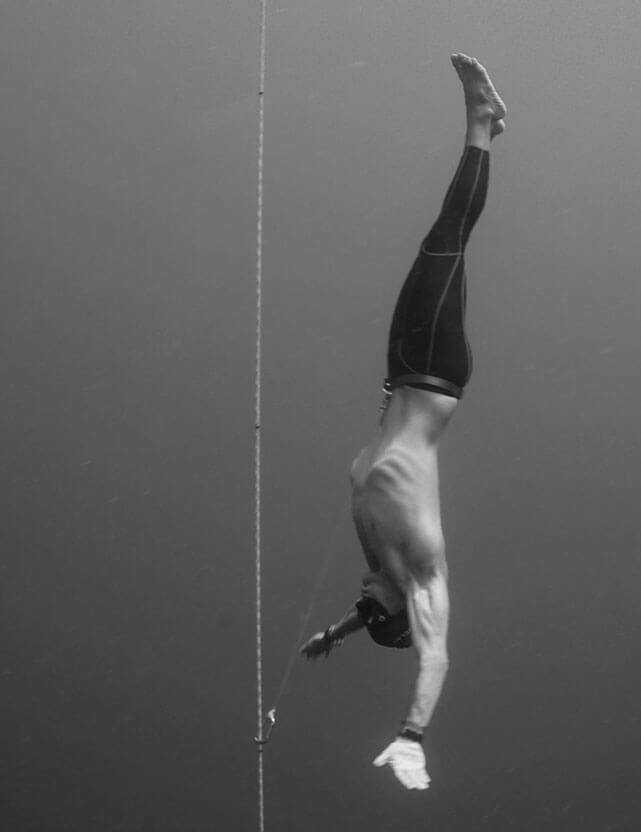
16 Sep How to perform a good freedive?
How to perform a good freedive by Carlos Coste.
I wanna start this first post with the subjet “how to perform a good freedive”. We will cover the process to execute a good and pleasant freedive in open water (looking for depth). I don’t pretend to details of each step in this post, as other articles will dive deeper into each phase that comes with Freediving. The following articles, offers a panoramic useful view for basic-intermediate level freedivers. I hope you enjoy and use this info in a responsable way, training always with a good buddy.
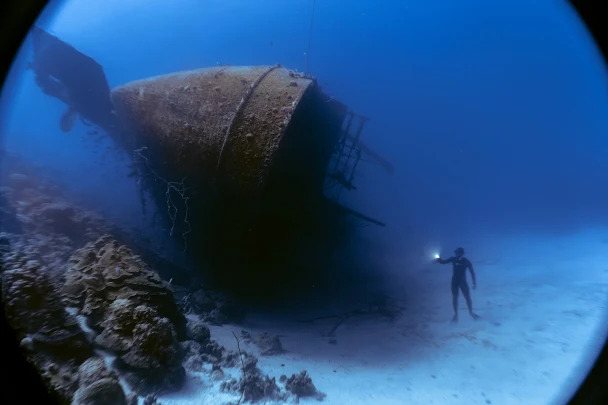
Before continuing, I want to give you a simple but fundamental advice: Take a certified Freediving Course (if you didn’t take one before). The best & smart way to start freediving is under direct professional guidance and supervision. After get your basic and/or intermediate certification, then will be easier and safer to take advantage of this blog, books and online info.
Step 1: Dry Warm Up:
All sports implying physical effort require some warmup. Runners, swimmers, surfers, climbers, etc, usually warm up & stretch before starting the performance. Freediving works same way in amateur level (in competitive level there are, in some cases no warmup performances).
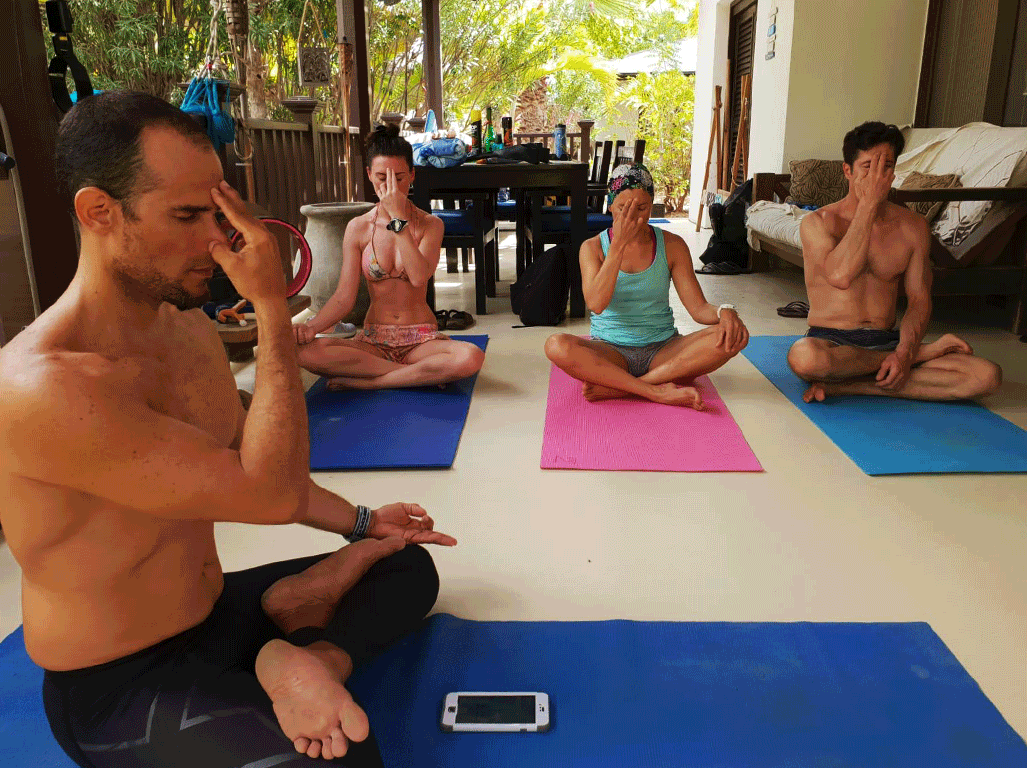
From gentle dynamic stretching, yoga, pranayama and meditation/visualization are common “dry warmup” options that usually are applied during 10-30 minutes before enter into the water. In my opinion dry warm up is always good ritual before a performance or training session for all levels, I used it before all my World Records.
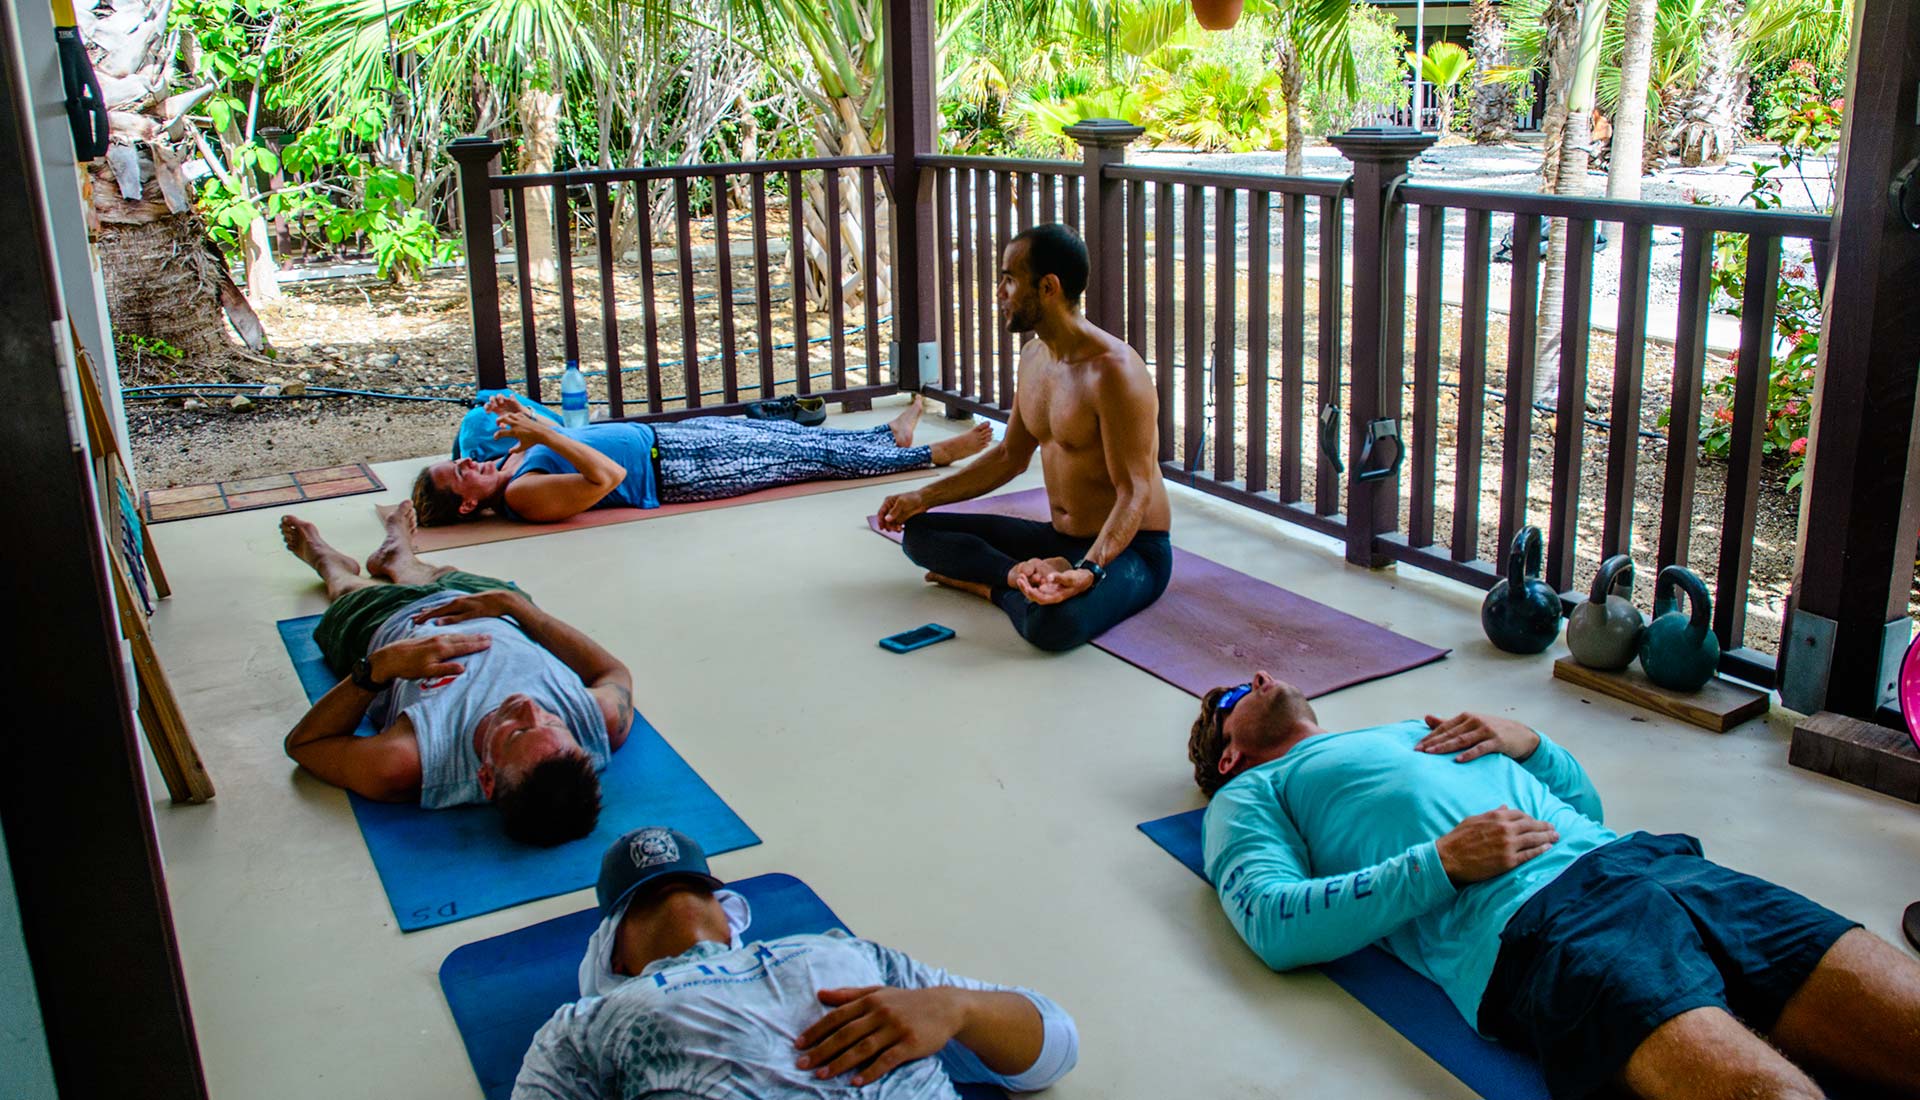
I advise you to practice Yoga & Pranayama in a regular basis during your week, minimum 4x times a week, 15-60 minutes each to adapt your body/mind and became flexible, always ready to perform. Regular yoga/pranayama during your week will means increased breathing capacity, depth adaptations, shorter pre-dive warm up time, and faster readiness. Soon I’ll post some specific exercises to set your own dry warm up ritual. In the yoga images (in this post) you can see me having my cell phone in front of me: It´s because I use a pranayama app to help me with the countdown control breathing exercise. Never use your cell phone for chat, calls or social media during your workouts or training, training is a time to connect body & mind…. cell phones should be airplane mode, or just providing music.
Step2: PRE-Dive Warm up (WU) in the water
To enjoy and perform a good freediving and/or spearfishing session I’d advise you to start with 1-3 “easy dives”, or “warm up dives” before push for depth or diving times, the best way is to perform those WU dives in a super relaxed and “slow motion” pace.
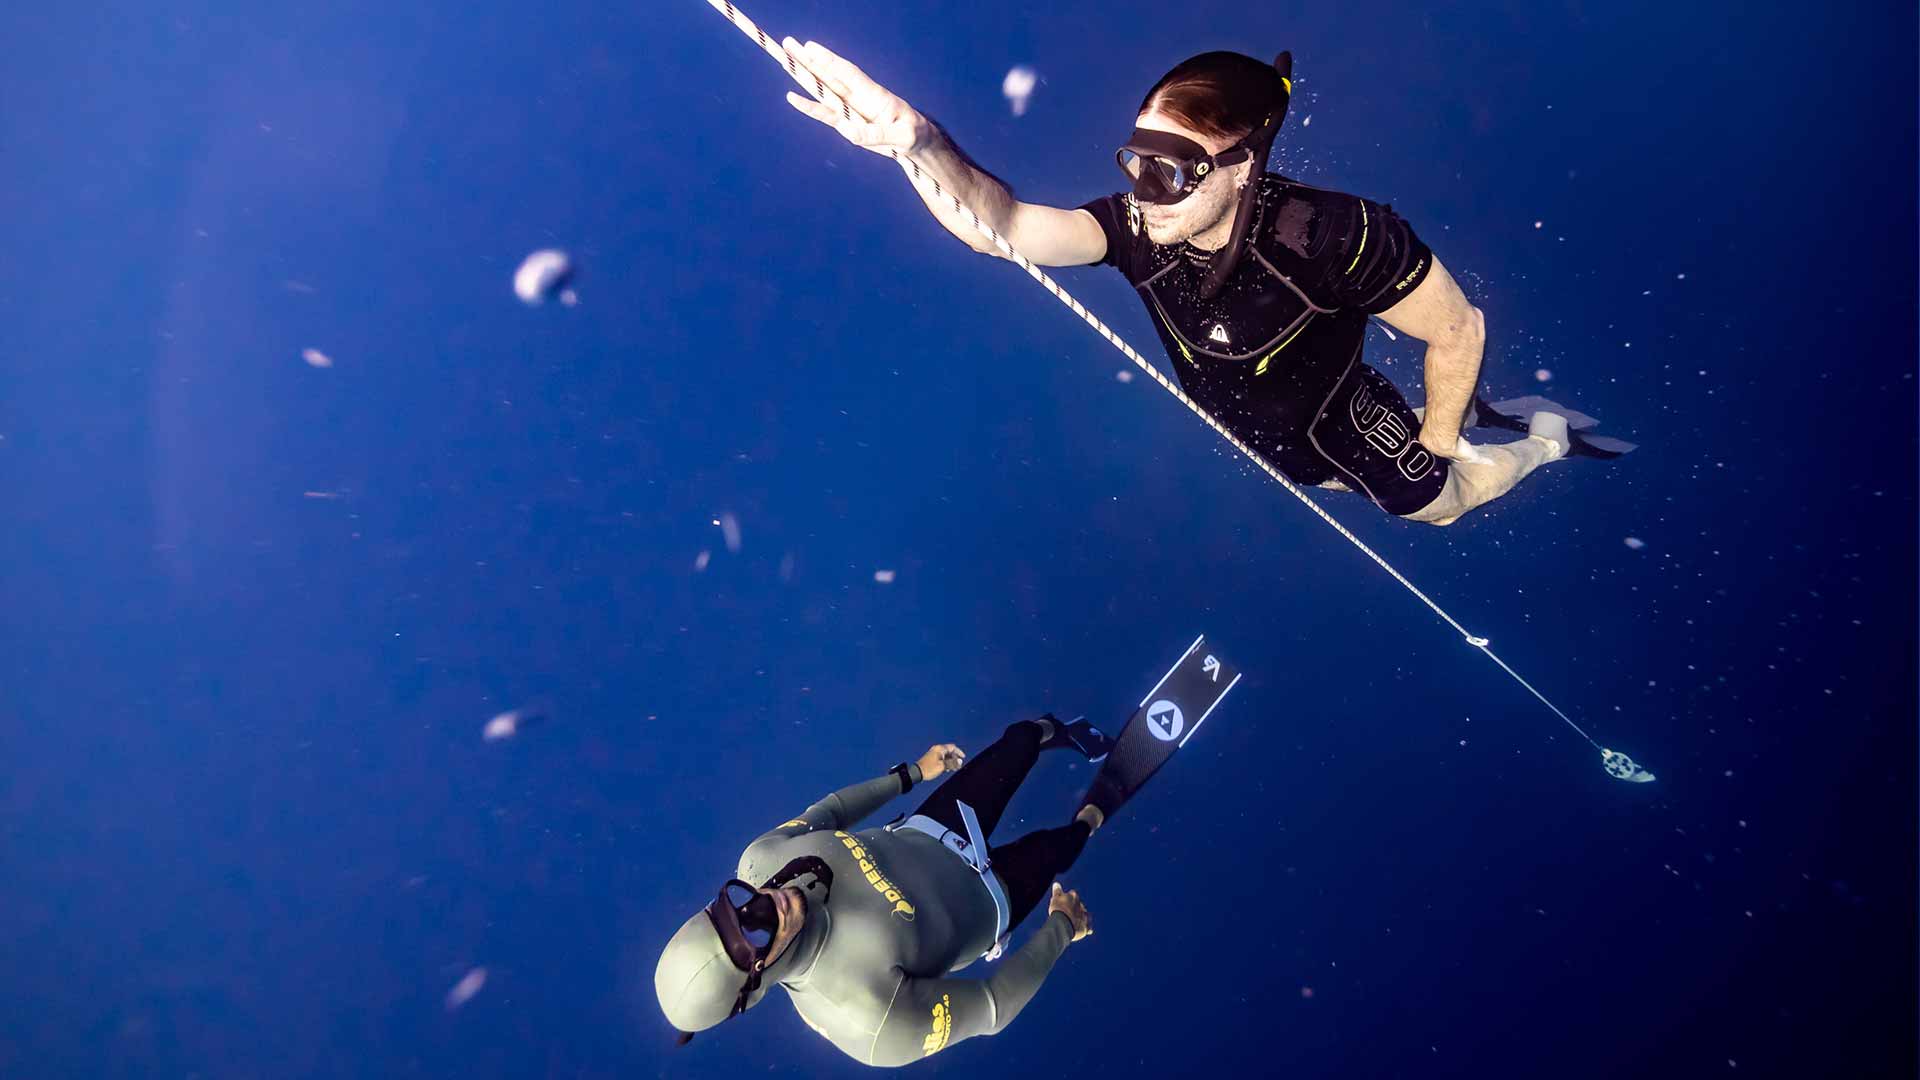
If you are using buoy/line logistics, then is better free immersion style (only pulling the line with arms, no kicking), the WU dive or dives will help you to activate the MDR (Mammalian Dive Response). You could use the anchor line of a boat (if you don’t count with buoy/line setting to pull down and wait/pause some seconds at easy depth, hanging in the line help to boost that WU dives effect. No line setting available? then just start your session with 1-2 easy dives, slow pace.
If you want to learn more, just sign in my blog. And please remember to never launch the anchor over the reef or corals, because you will cause a damage that take years, maybe decades to recover.
Step 3: Breathing Cycle:
Breath hold diving allows you to perform 10, 50, or +100 dives during a training session, morning or full day practice. Therefore, the procedure or steps to breath-dive-breath are similar or same, like a cycle. In the AIDA Educational System, we teach a concept called “The Breathing Cycle”, to synthesize the simple steps to dive safe and better.
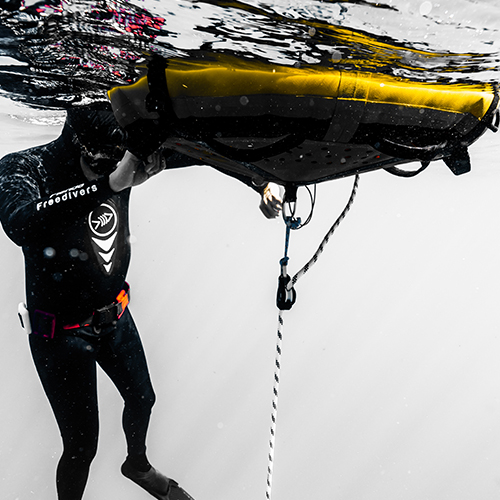
I love the breathing cycle concept because is simple and useful. Here I’ll give you an idea how it works:
Breathing Cycle consist in 4 steps to breath-dive-breath.
- First: you must relax on the surface, breathing slowly (using only belly breathing, through your snorkel, face in the water).
- Second: just when you feel ready and relax to dive, you take only 1 depth full breath using your Total Lung Capacity, do it slowly, in control, using your snorkel.
- Third: Snorkel out from your mouth, pre-equalize and dive, keep relax and smooth, no rush the maneuver or the dive itself.
- Fourth: When you break the surface immediately perform the Recovery Breath (3 times). Then the cycle starts again for your next dive! Remember always keep hydrated during your freediving/spearfishing sessions, using re-usable water bottles to avoid plastic waste.
For more details about the “Breathing Cycle” check my new articles in the blog, please subscribe!
Step 4: Duck Dive:
It’s one of the fundamental techniques / maneuvers to dive. A proper duck dive technique allows the freediver to flow from surface horizontal position into vertical streamlined position to start the descent. A good duck dive looks smooth and efficient, keeping the relaxation reached during surface preparation and last full inhale. I teach 2 kind of duck dives: Static or Dynamic duck dives. You can find here, a full blog post dedicated to the Duck Dive.
Step 5: Dive Technique:
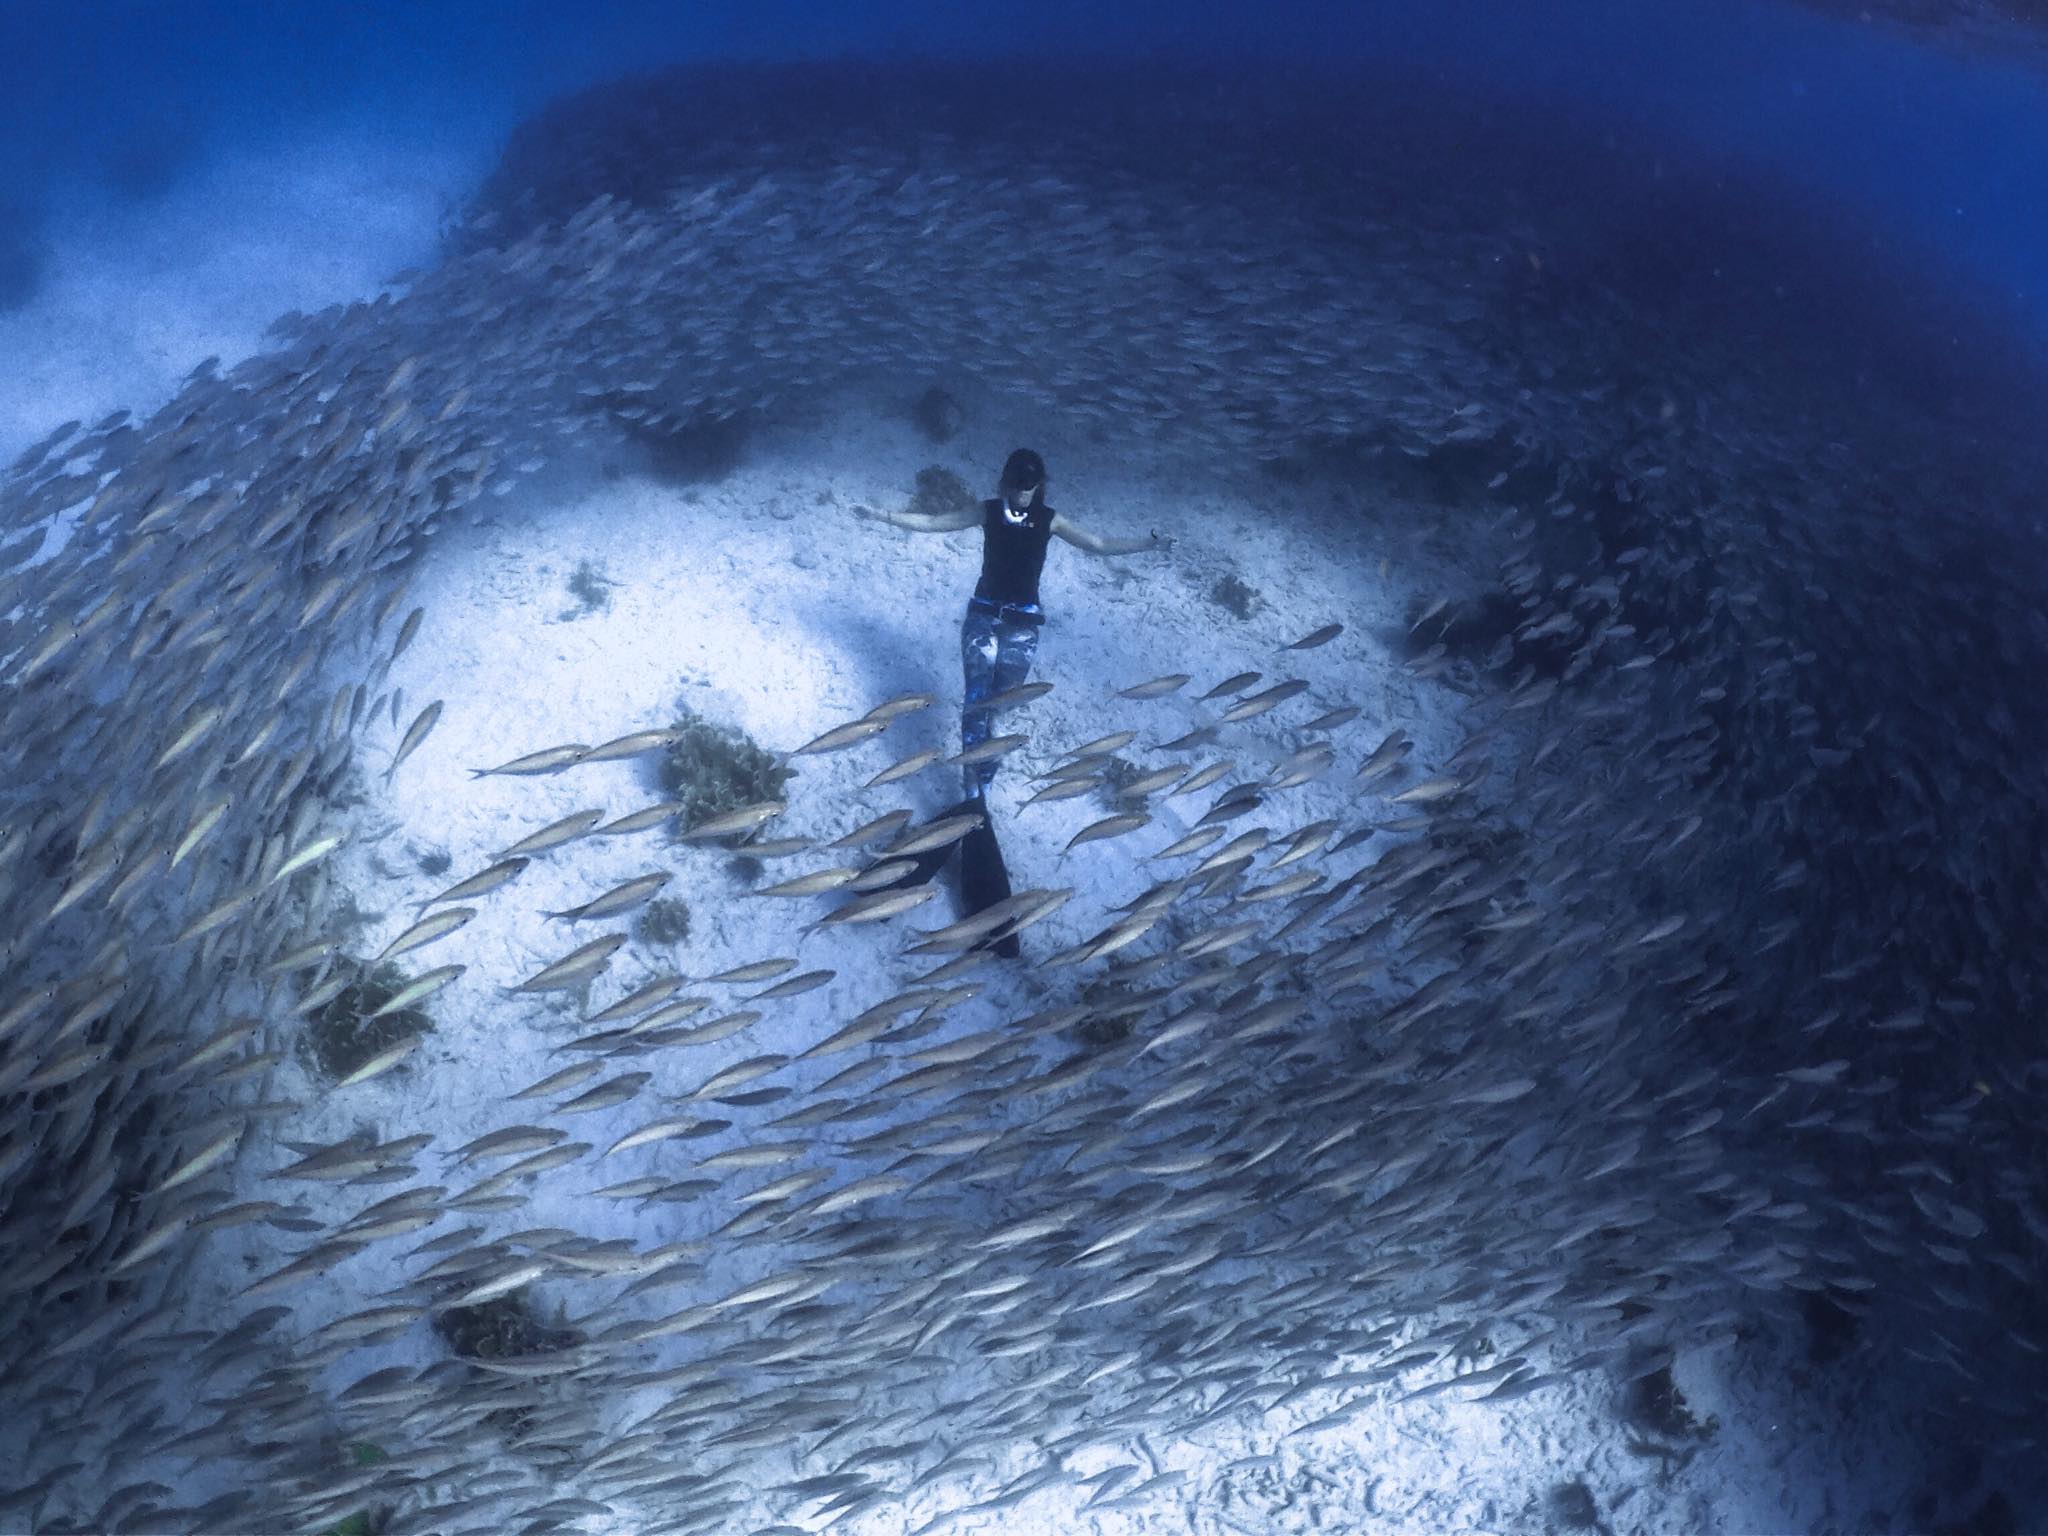
Immediately after the duck dive, the descent starts, kicking & equalizing, using the energy in a efficient way. After certain depth, the diver free fall (stop kicking), taking advantage of the negative buoyancy, saving energy. As well during the ascent, a good dive technique requires pace and power control of the kicks. Having a safe and proper buoyancy (set previously), the diver should be able to stop kicking the last meters of the ascent before breaks the surface to save energy.
Breaking the surface, the diver start recovery breaths (breathing cycle)


No Comments